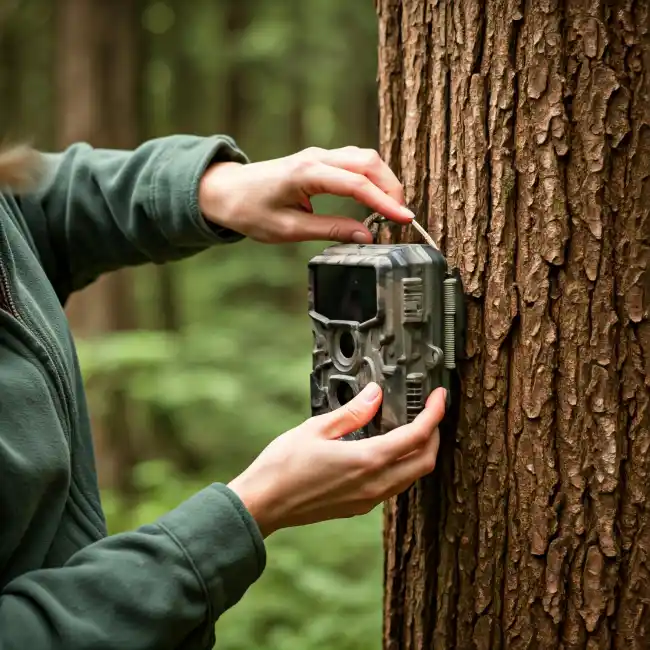
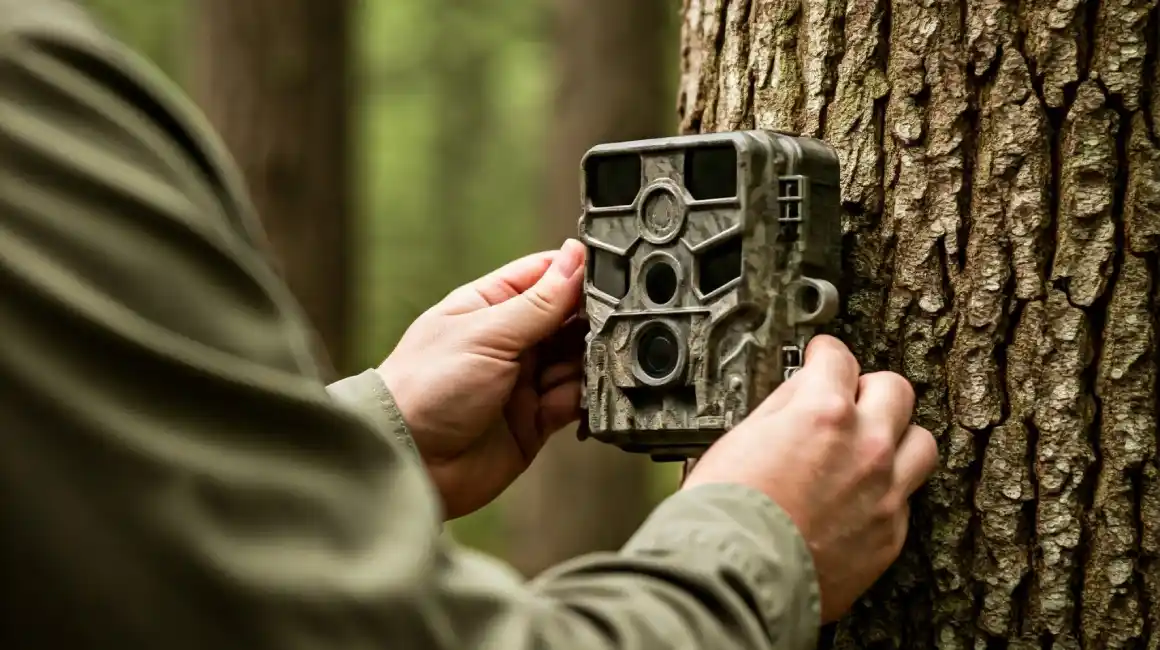
 Trail cameras have revolutionized the way we observe wildlife. They provide a unique perspective into the secret lives of animals, capturing stunning images and fascinating behaviors. However, to truly appreciate the wonders of the natural world through your trail camera, it’s essential to produce high-quality photos. In this post, we’ll explore some key strategies to enhance your trail camera photography and capture breathtaking images of wildlife.
1. How can I adjust my trail camera settings for optimal image quality?
Optimizing your trail camera settings is the foundation of capturing high-quality images. By fine-tuning various parameters, you can significantly improve the clarity, sharpness, and overall aesthetic appeal of your photos.
-
Image Resolution & Quality:
- Set the highest resolution possible: This captures the most detail and allows for better zooming and cropping.
- Choose the best image quality setting: Options like “high” or “superfine” will result in clearer images, but will also take up more storage space.
Motion Detection Sensitivity:- Adjust sensitivity based on your environment:
- High sensitivity: Ideal for areas with lots of small animals or in windy conditions. Can lead to more false triggers.
- Low sensitivity: Better for larger animals or areas with less movement. May miss some smaller animals.
- Experiment with different levels to find the sweet spot for your location.
Trigger Speed:- Faster trigger speeds are better for capturing fast-moving animals.
- Slower speeds can help reduce false triggers.
Infrared (IR) Settings:- Choose “no-glow” IR for maximum stealth: This prevents the camera’s flash from scaring animals away.
- Consider black and white images at night: They often provide better contrast and require less storage space.
Image/Video Mode:- Use photo mode for still images.
- Use video mode for capturing animal behavior.
Time-Lapse Mode:- Capture images at set intervals to document changes in the environment or animal activity over time.
Battery Life:- Use high-quality batteries.
- Reduce the camera’s power consumption by:
- Setting shorter trigger intervals.
- Using lower resolution/quality settings when possible.
Camera Placement:- Position the camera at an optimal height and angle to capture the best shots.
- Avoid direct sunlight on the lens, which can cause glare.
- Consider the direction of prevailing winds and the typical movement patterns of the animals you’re trying to observe.
2. Where is the best location to place my trail camera for clear shots?
The placement of your trail camera plays a crucial role in determining the quality and composition of your images. By carefully selecting a location, you can maximize your chances of capturing stunning wildlife photos.

Animal Travel Routes:
- Game trails: Observe and identify well-worn paths used by animals.
- Water sources: Place near streams, rivers, or watering holes where animals gather.
- Food sources: Target areas rich in food, such as fruit trees, berry bushes, or salt licks.
Optimal Camera Height & Angle:
- Mount at animal eye level: This provides the best perspective and minimizes obstructions.
- Angle slightly downward: This helps capture animals’ full bodies and prevents unwanted shots of the sky.
- Avoid pointing directly at the sun: This can cause glare and reduce image quality.
Minimize Obstructions:
- Clear a field of view: Remove branches, leaves, and other obstructions that can block the camera’s lens.
- Consider wind direction: Avoid placing the camera in areas where swaying branches might trigger it.
Camouflage and Concealment:
- Use camouflage straps or covers: Help the camera blend in with its surroundings.
- Position the camera strategically: Utilize natural camouflage like tree trunks or rocks for concealment.
Test and Adjust:
- Monitor your results: Regularly check the camera and adjust its position or settings as needed.
- Experiment with different locations: Find the spot that consistently captures the best images.
By carefully considering these factors, you can significantly increase your chances of capturing high-quality wildlife photos and videos with your trail camera.
3. How can I improve low-light performance on my trail camera?
Low-light conditions can be challenging for trail cameras, but with the right techniques, you can still capture impressive images. In this section, we’ll explore strategies to enhance low-light performance and capture stunning night-time shots.

Optimize IR Illumination:
- Invest in Powerful IR LEDs: Look for cameras boasting a high number of IR emitters and a wide illumination range.
- Embrace “No-Glow” IR: This technology is crucial for minimizing the chance of scaring away wildlife by emitting invisible infrared light.
- Maintain Lens Cleanliness: Dust and debris on the lens can severely diminish IR effectiveness.
Fine-tune Camera Settings:
- Increase IR Intensity (if your camera allows): This boosts illumination, but be cautious of overexposure.
- Reduce Trigger Delay: Faster trigger speeds capture images more quickly, increasing success rates in low-light conditions.
- Experiment with Shutter Speed: Slower shutter speeds allow more light to reach the sensor, but can introduce motion blur.
Enhance Image Quality:
- Utilize Higher ISO Settings (if available): This amplifies sensor sensitivity, but may introduce noise (grain) into the image.
- Consider Black and White Mode: This often produces superior results in low-light conditions by reducing noise and enhancing contrast.
Optimize Camera Placement:
- Minimize Ambient Light: Position the camera in areas with minimal moonlight or artificial light sources.
- Ensure Clear Line of Sight: Obstructions can block IR illumination and diminish image quality.
Camera Upgrades:
- Consider a Camera with a Superior Sensor: Newer models frequently boast improved low-light performance due to advancements in sensor technology.
Important Considerations:
- Experimentation is Key: Try various combinations of settings to discover the optimal configuration for your specific location and wildlife.
- Regularly Check Your Camera: Retrieve images and review them to assess image quality and adjust settings as needed.
By implementing these strategies, you can significantly enhance your trail camera’s low-light performance and capture more wildlife in challenging conditions.
4. Can I edit my trail camera photos to improve their quality?
While it’s important to capture high-quality images directly from your trail camera, post-processing can help you enhance your photos and bring out their full potential.
- Basic adjustments: Explain how to adjust brightness, contrast, and saturation using photo editing software.
- Noise reduction: Discuss how to reduce noise in low-light images.
- Cropping and straightening: Explain how to improve the composition of your images by cropping and straightening.
- Sharpening: Discuss how to sharpen images without introducing excessive noise.
By following these tips and experimenting with different settings and techniques, you can significantly improve the quality of your trail camera photos. Remember, the key to great trail camera photography is patience and persistence. Keep exploring new locations, adjusting your settings, and most importantly, have fun!
